
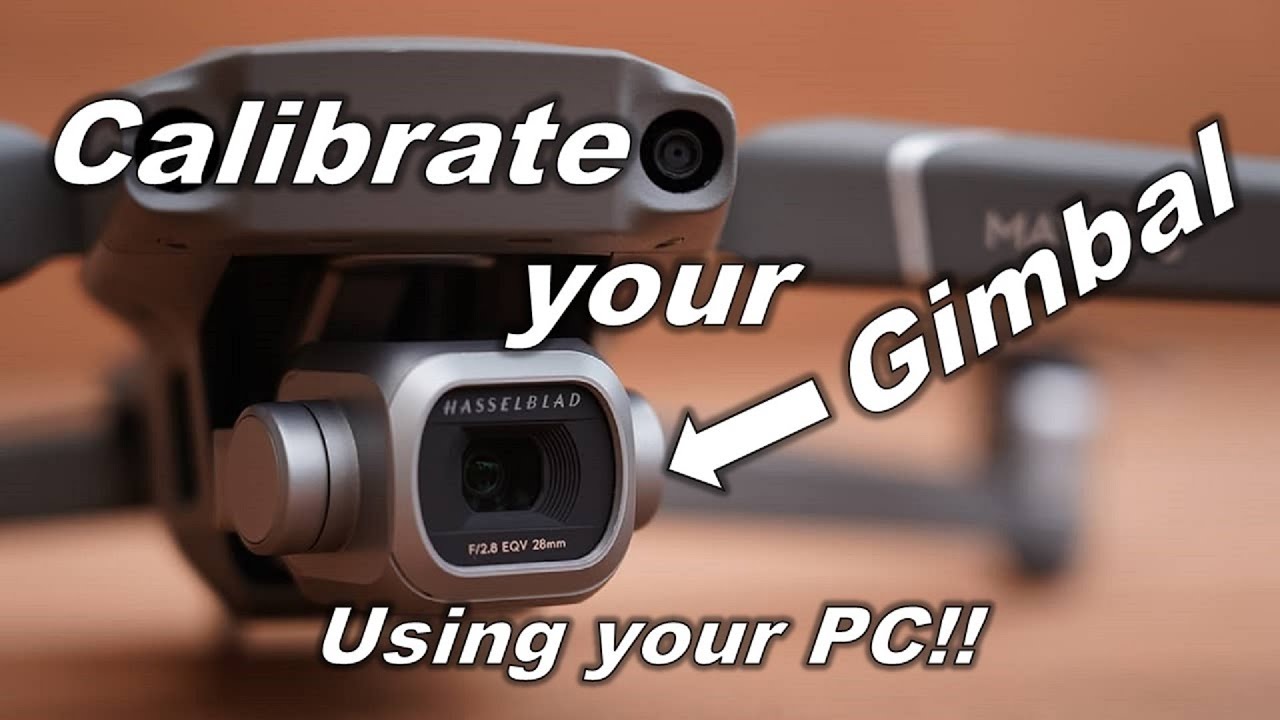
How to Calibrate Your Drone Gimbal: A Step-by-Step Guide for Perfectly Stable Footage
Is your drone footage looking shaky, jittery, or plagued by a crooked horizon? A misaligned gimbal is often the culprit. Proper drone gimbal calibration is the secret to achieving buttery-smooth, professional-quality video and perfectly level photos. This comprehensive tutorial will guide you through the entire process, explaining why it's necessary, when to do it, and how to perform a calibration on DJI, Autel, and other popular drones. Stop fighting with unstable video and start capturing breathtakingly smooth aerial shots.
Why Gimbal Calibration is Crucial for Quality Footage
The gimbal is a complex system of motors and sensors that works tirelessly to keep your camera stable, counteracting the drone's movements, wind, and vibrations. Over time, due to firmware updates, temperature changes, or even gentle bumps, this system can become slightly misaligned.
Calibrating your gimbal ensures that:
• Eliminates Horizon Tilt: The most common sign of a needed calibration is a horizon that isn't level.
• Reduces Jitters and Shakes: Calibration smooths out high-frequency vibrations for cinematic video.
• Fixes "Gimbal Overload" Errors: Proper calibration can resolve errors caused by the motors working too hard to correct themselves.
• Improves Overall Stability: The camera holds its position better, resulting in more professional shots.
When Should You Calibrate Your Drone Gimbal?
You don't need to calibrate before every flight. Perform a gimbal calibration when you notice any of the following:
• The horizon is consistently tilted in your photos or videos.
• The video is jittery or shaky even in calm conditions.
• You see a "Gimbal Motor Overloaded" or similar error message.
• You've updated your drone's firmware. A calibration is often recommended post-update.
• The gimbal behaves erratically or drifts after a hard landing or transport.
• You're flying in extremely cold or hot temperatures for the first time.
Pre-Calibration Checklist: Setting the Stage for Success
Before you start, follow these simple steps to ensure a successful calibration:
1. Find a Perfectly Level Surface: This is non-negotiable. Use a table, the floor, or any other surface confirmed to be level. An uneven surface will result in a poorly calibrated gimbal.
2. Remove the Gimbal Clamp: Always take off the protective gimbal clamp before powering on the drone.
3. Power On Properly: Place the drone on the level surface and then power it on. This allows the gimbal to initialize correctly.
4. Check for Obstructions: Ensure no objects are blocking the gimbal's full range of motion. Remove any filters or accessories for the calibration process.
Step-by-Step: How to Calibrate Your Gimbal (General Workflow)
While the exact menus vary by brand, the general process is very similar for most drones (DJI, Autel, etc.).
Step 1: Enter Your Drone's App
Power on your drone, controller, and open the manufacturer's app (e.g., DJI Fly, DJI Go 4, Autel Sky).
Step 2: Navigate to the Gimbal Settings
1. Go to the main settings menu (usually represented by three dots
...).2. Look for the section called "Control" or "Gimbal".
3. Scroll down to find the "Gimbal Auto Calibration", "Calibrate", or similar option.
Step 3: Start the Calibration Process
4. Tap the "Calibrate" button.
5. The app will instruct you to ensure the drone is on a stable, level surface. Confirm.
6. The calibration will begin automatically. Do not touch the drone during this process!
Step 4: Wait for Completion
• The gimbal will make whirring sounds and move through its full range of motion. This takes 1-2 minutes.
• You will see a progress indicator in the app.
• Once complete, a success message will appear.
Step 5: Verify and Test• Gently pick up the drone and slowly tilt it in different directions. The camera should stay level.
• Do a quick test flight to check if the horizon is straight and the footage is smooth.
Brand-Specific Calibration Tips
For DJI Drones (Mavic, Air, Mini, Phantom Series)
• App: Use the DJI Fly or DJI Go 4 app.
• Location: Settings > Control > Gimbal > Auto Calibration.
• DJI Tip: If the horizon is still slightly off after calibration, you can use the "Gimbal Fine-Tune" feature in the same menu to manually adjust the roll axis.
For Autel Drones (Evo II, Nano Series)
• App: Use the Autel Sky app.
• Location:
1. Tap the three-dot menu for settings.
2. Go to the "Gimbal" tab.
3. Select "Calibrate Gimbal".
For Skydio Drones
• Skydio drones are highly automated and typically handle calibration internally. Manual calibration is rarely needed. Consult the Skydio app for any specific tools.
If an auto-calibration doesn't perfectly fix a horizon tilt, most advanced drones allow for manual adjustment.
• In your app's gimbal settings, look for "Gimbal Fine-Tune" or "Horizontal Correction."
• Use the slider to manually adjust the roll of the camera until the horizon appears perfectly level in your live feed.
Troubleshooting Common Gimbal Calibration Problems
• Calibration Fails: Ensure the drone is on a truly level surface. Restart the drone and app and try again.
• "Gimbal Motor Overload" Error: This often indicates a physical obstruction. Check for hair, dust, or a small twig stuck in the gimbal mechanism. Use a can of compressed air to gently clean it.
• Horizon Still Tilted: Try the manual fine-tune adjustment feature. If it persists, perform an IMU (Inertial Measurement Unit) calibration, as the drone's internal level relies on this sensor.
• Gimbal is Loose: Physically check if the gimbal is loose on its mounts. Some models allow for tightening with a specific screwdriver, but refer to your manual to avoid voiding the warranty.
Pro Tips for Gimbal Longevity
• Always Use the Clamp: The gimbal clamp is essential for transport. It prevents the gimbal from bouncing around and damaging its delicate motors.
• Handle with Care: Avoid any impact or pressure on the gimbal and camera.
• Keep it Clean: Gently remove dust and debris from the gimbal's joints and camera lens.
• Let it Initialize: Always allow the gimbal to complete its startup dance before taking off.
Conclusion: Calibration is Key to Professional Video
A simple 2-minute gimbal calibration is one of the easiest and most effective ways to drastically improve your aerial cinematography. By making this a part of your regular maintenance routine—especially after firmware updates or when you notice a tilted horizon—you ensure your drone is always ready to capture stunning, stable footage.
Did this guide help you fix your shaky drone video? Share your before-and-after results in the comments below! For more expert tutorials, subscribe to our newsletter.
{{ commentCount }} Comments
Loading comments...
{{ comment.user.fullname }}
No comments yet. Be the first to comment!