
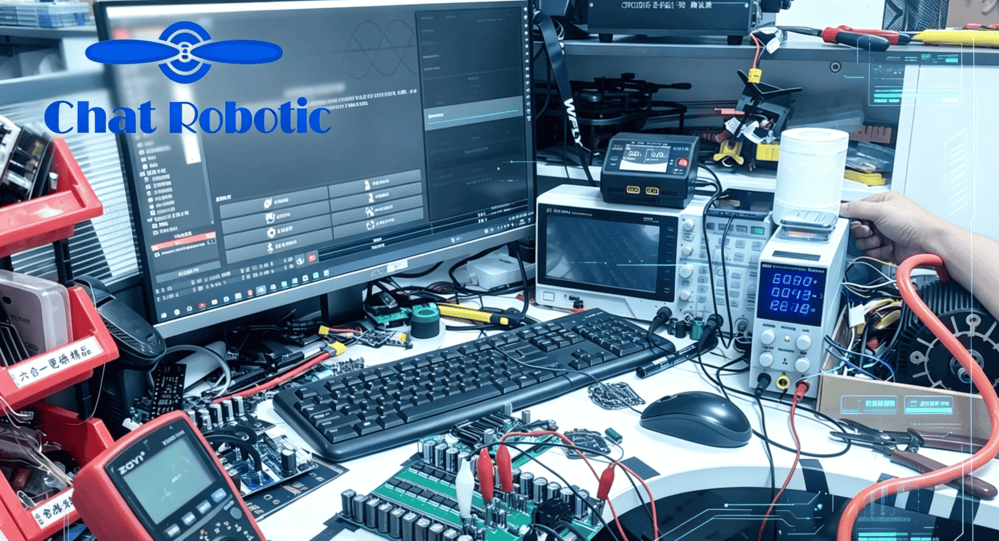
Overvoltage is the fastest way to turn a working VESC into a paperweight. Unlike a software fault you can clear with a reboot, feeding the controller more than its maximum input voltage physically destroys components — often instantly, and often beyond repair. If you landed here searching for VESC troubleshooting after a board went silent, this is the failure mode you're most likely looking at.
What "Maximum Input Voltage" Actually Means
Every VESC has a ceiling set by its hardware, not its firmware. On our controllers it's printed right into the name: the VESC-S 90V unit is rated for 90V max, a 24S board is a 24S board, and a 30S board is a 30S board. There is no setting, no firmware flash, and no "mode" that raises that limit. A 24S controller cannot be pushed to 26S performance no matter what you tweak — the silicon simply isn't built for it.
Size against the fully charged pack voltage, not the nominal label. A "30S" pack reads about 111V nominal but hits ~126V at full charge. If your controller is rated at 126V, that last volt of charge is exactly where you're closest to the edge.
What Happens the Moment You Exceed It
We see the same story repeat. A customer once couldn't connect to the onboard nRF chip, fiddled with the setup, and by mistake fed 120V into a lower-rated controller. One small pop. The board never booted again.
When we tested it later at 40V, it drew zero current and stayed completely cold to the touch. That combination — no current draw, no heat, total silence after a pop — is the classic signature of a blown input/power stage. And overvoltage rarely stops at the first component: the spike propagates through the supply rails and tends to take random companion parts with it.
This is why overvoltage sits in a different category from the faults in our Ultimate VESC Troubleshooting Guide. Those faults throw a code you can read and clear. Overvoltage writes the code onto the hardware itself.
The Quiet Overvoltage: Your 5V Aux Rail
Not every overvoltage kills the whole board at once. A customer's Tronic X12 died because they hung a small external PCB off the board's 5V output. That rail is meant for hall sensors and the CAN bus only. When the add-on produced a voltage surge above 6.3V — or drew excessive current — the protection capacitor's ESR plus the high current generated localized heat and burned it out, taking the controller with it.
The lesson: the 5V aux rail is sacred. Never hang a load on it, and watch for any external board that can push a surge past 6.3V.
Regen Overvoltage: The Sneaky One
Even within rating, voltage can spike. During regenerative braking, current flows back into the pack. If the battery is disconnected, or already full and can't absorb it, that energy has nowhere to go and the DC bus voltage shoots up. The result is a GATE_DRIVER_OVER_VOLTAGE or FAULT_CODE_DRV event — and repeated spikes stress the gate-driver chip (DRV8302 on many 4.x/6.x boards) toward failure.
Prevention: never brake with the battery disconnected, keep regen current reasonable, and make sure your pack can actually absorb the returned energy.
VESC Troubleshooting Checklist: Avoiding Overvoltage
• Verify pack voltage vs. rating before every connection. One wrong plug ends it.
• Size for fully-charged voltage, not the nominal number.
• Never hot-plug a high-voltage pack — use the controller's own switch to power on.
• Keep regen sane and never brake with the battery disconnected.
• Leave the 5V aux rail alone — sensors and CAN only.
• Match the pack to the board: 24S stays 24S, 30S stays 30S.
Quick Reference
• Maximum input voltage is a hardware limit, not a setting.
• Exceeding it = instant, often cascading, physical damage.
• Signature of a killed board: pop, zero current, cold to touch.
• Watch both the main bus and the 5V aux rail for surges.
• Regen with a disconnected/full pack = bus overvoltage spikes.
For the full fault-code list and fixes for every common error, see our Ultimate VESC Troubleshooting Guide.
ChatRobotic designs and supports VESC-based controllers for e-skate, unicycle, e-moto and robotics builders.


{{ commentCount }} Comments