
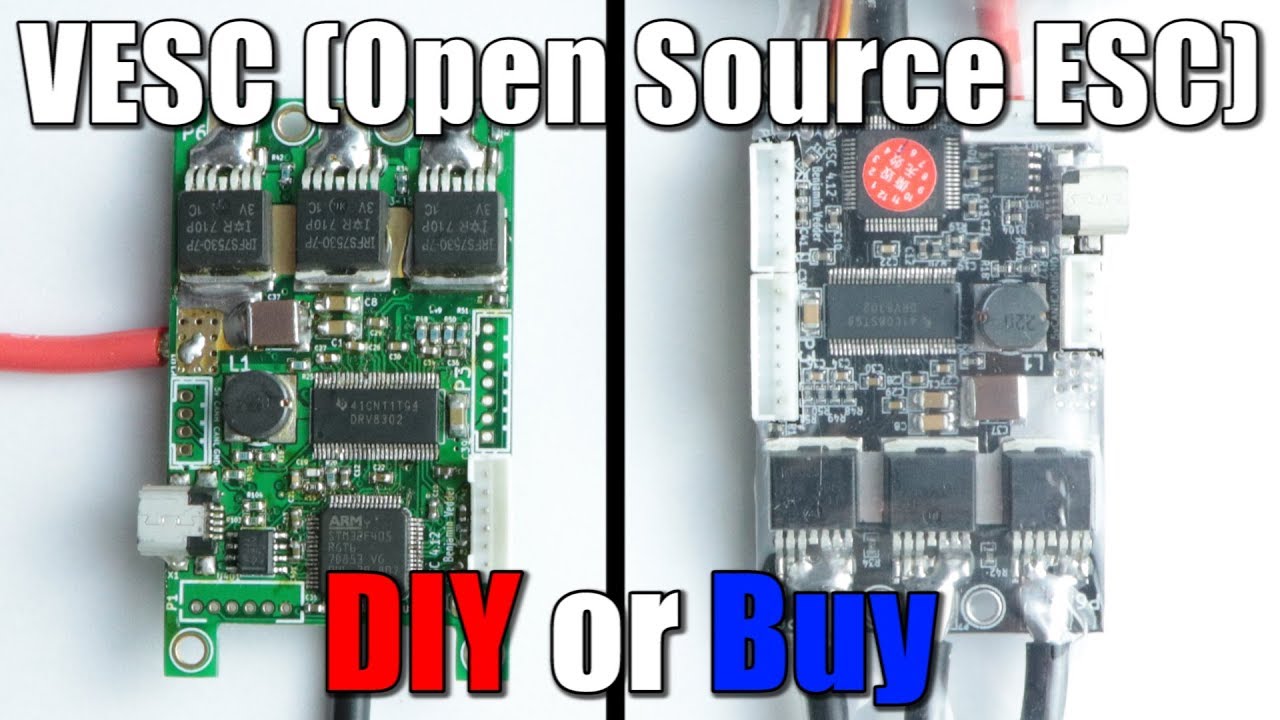
The VESC (Vedder Electronic Speed Controller) ecosystem has evolved far beyond its electric skateboard origins. Today, it powers serious electric motorcycles capable of 100+ km/h and 8kW+ continuous output. Building a 72V VESC-based electric motorcycle gives you complete control over power delivery, regen braking, and performance tuning — all without being locked into a proprietary controller ecosystem. This guide walks you through building a high-performance 72V beast using open-source VESC technology.
Why 72V? Why VESC?
72V (20S lithium-ion) is the sweet spot for high-performance electric motorcycles. It delivers the voltage needed to push serious power while keeping component costs manageable and widely available. At this voltage, you can achieve 100+ km/h top speeds and 100 km range with a properly sized battery.
The VESC platform brings advantages that proprietary controllers simply can't match: full FOC sinusoidal motor control, regenerative braking adjustable through a smartphone app, real-time telemetry via VESC Tool, and complete access to every performance parameter. The open-source firmware is actively maintained with regular improvements, and a thriving community provides support for custom builds.
Component Selection: Building the Foundation
The Controller: Your Motorcycle's Brain
For a 72V build, you need a VESC controller that can handle the voltage and current. Several options are available in 2026:
The Flipsky FSESC 75200 Pro V2 is a popular choice for 72V builds, supporting up to 16S batteries with 200A capability. One builder paired it with an MXUS 3K Turbo motor on a 72V 20Ah battery, achieving a top speed above 100 km/h and around 100 km of range.
The Spintend Ubox 100V offers 100V/100A capability with a built-in heatsink and BLE module — a good starter option, though not the most performant. For higher power, the VESC 100/250 from Trampa handles 100V and 250A, making it suitable for serious motorcycle builds.
The Lil' FOCer v3.1 provides 84V/180A capability in a compact package, though it lacks a built-in heatsink. The Thoor 400 pushes the envelope with 134V/32S capability.
💡 Pro Tip: When selecting a controller, always leave headroom. A controller rated for 100A continuous won't safely deliver 100A indefinitely — thermal management matters.
The Motor: The Muscle
For a 72V electric motorcycle, the MXUS 3K Turbo is a proven workhorse. Available in various turn counts, the 3T version delivers high KV (around 11.89 Kv) suitable for 72V operation. The QS138 90h motor is another excellent option, frequently paired with VESC controllers in dirt bike builds.
Motor selection involves trade-offs: higher KV means higher top speed but less low-end torque. For a 72V build with 27.5-inch wheels, one builder found the 3T version underwhelming initially but achieved excellent results after proper tuning.
The Battery: The Heart
A 72V nominal system uses a 20S lithium-ion pack (84V max). For serious power, consider:
• Samsung 21700 35A cells in an 8p20s configuration delivers 280A capability
• 72V 20Ah battery provides around 100 km of range
• 72V 35Ah for extended range and higher current delivery
Always pair your battery with a quality BMS capable of handling your expected current draw.
Supporting Hardware
Torque arms are non-negotiable for hub motor builds. The torque from a 72V system will destroy standard dropouts without proper reinforcement. CNC-machined aluminum torque arms provide the necessary strength.
For throttle control, a Surron-style twist throttle works well, with a thumb throttle on the opposite side for regenerative braking. A 12V buck converter powers lights and accessories.
Step-by-Step Assembly
Phase 1: Planning and Frame Preparation
Start with a suitable donor motorcycle or bicycle frame. One builder converted a Decathlon Rockrider 520 purchased for 120 Euros. Key requirements include disc brakes and front suspension.
Design and fabricate torque arms before mounting the motor. Use 3D printing for prototypes, then machine from aluminum. The torque arms must be thick enough to handle the motor's torque without stripping threads.
Phase 2: Electronics Installation
Mount the VESC controller securely with adequate cooling. Some controllers include built-in heatsinks; others require lid-mounting with thermal pads. Ensure good airflow around the controller.
Install the battery in a protected, accessible location. Use anti-spark connectors like XT90 or AS150 to prevent damaging arcs when connecting.
Wire the motor's phase wires (yellow, blue, green) to the controller outputs. If using a sensored motor, connect the hall sensor harness carefully — wiring order varies between motor brands.
Phase 3: Wiring and Integration
Connect the throttle to the VESC's ADC input. For regenerative braking, wire a second throttle or brake lever to ADC2.
Route all wiring cleanly, ensuring nothing contacts moving parts or sharp edges. Use a 12V buck converter for lights and accessories. Install a push-button switch for ignition.
VESC Tool Configuration
Motor Detection
The first step in VESC Tool is running the Setup Motors FOC wizard. This automatically detects motor parameters including resistance, inductance, and flux linkage. If detection fails, try reducing the detection current temporarily.
For firmware version 6.05+, enable "Short Low-Side FETs on Zero Duty" for stronger standstill braking and set "Speed Tracker Position Source" to "Corrected Position."
Current Limits
Set conservative limits initially, then increase gradually while monitoring temperatures. One builder with a QS138 motor used 245A motor amps with an absolute max of 390A. Battery amps were set at 150A.
Field Weakening
Field weakening extends top speed beyond the motor's natural limits by reducing motor flux at high RPMs. Start with modest values (35A) and increase gradually. One builder achieved 110 kph using 120A of field weakening.
⚠️ Warning: Excessive field weakening can overdraw current and overheat the motor. Always monitor temperatures during testing.
Regenerative Braking
VESC's regen braking is adjustable from "none" to "strong" via the smartphone app. Skilled riders can recover 10–25% of energy on hilly routes. Configure regen through the VESC Tool's App Settings menu.
Performance Results
Real-world builds demonstrate the potential of 72V VESC motorcycles:
• Top speed above 100 km/h with MXUS 3K Turbo and Flipsky FSESC75200 Pro V2
• 110 kph achieved with Trampa VESC 100/250, QS138 motor, and 150A battery current
• 100 km range from a 72V 20Ah battery
These results come from builders who started with modest expectations and pushed their systems through careful tuning.
Troubleshooting Common Issues
Motor Won't Spin After Configuration
If the VESC was reset to factory defaults, you must retune it to match the motor parameters. Re-run the Setup Motors FOC wizard.
Loss of Power After Firmware Update
Firmware updates can change parameter behavior. Always re-run motor detection after updating. Save your configuration before updating.
Overheating
If the motor or controller overheats, reduce current limits or improve cooling. One builder found the motor got hot enough for the VESC to limit current on a 35°C day. Consider adding ferrofluid for motor cooling.
Hall Sensor Issues
If hall sensor values change unexpectedly, run "detect Hall Sensors" from the FOC Hall Sensors tab. In VESC Tool's terminal, use hall_analyze 50A to check sensor function.
Legal and Safety Considerations
Electric motorcycle conversions may require regulatory approval. One builder planning a conversion needed EMC certification (UN ECE-R100 or EN61000) for road legality.
Always:
• Use appropriate fuses and circuit protection
• Ensure secure mounting of all components
• Test thoroughly at low power before full-throttle runs
• Wear appropriate safety gear during testing
Component recommendations based on 2026 market availability. Always verify compatibility and local regulations before building.


{{ commentCount }} Comments